Here’s the customer solution to help users solve the problem xprog atmega64 locked and can not read or program chip issue.
This is done off board with qfp64 breakout board should be able to program onboard xprog also though.
This is done off board with qfp64 breakout board should be able to program onboard xprog also though.
Disclaimer: Many thanks dil6222 from cartechnology.co.uk forum. You are at your risk.
Easy fix all you need is:
1. UPA USB PROGRAMMER
2. USBASP WITH SLOW CLOCK JUMPER ON
EXTREME BURNER SOFTWARE AND 10 TO 6PIN ADAPTER
EXTREME BURNER SOFTWARE AND 10 TO 6PIN ADAPTER
3. JUMPER WIRES FEMALE AND MALE
4.QFP64 BREAKOUT BOARD
let’s get started
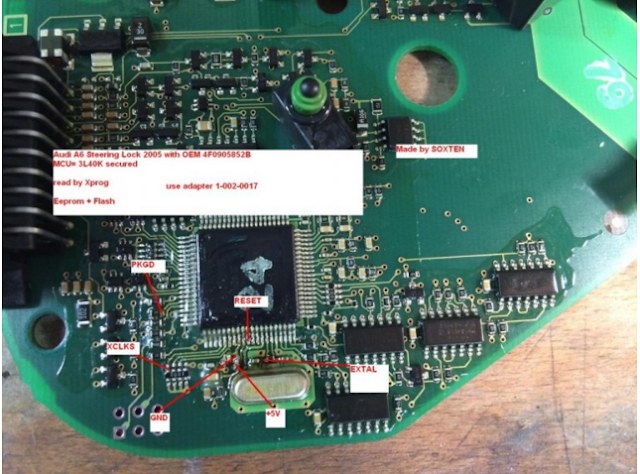
1. First of all connect jumper wires between atmega and usbasp
you will need to split vcc + into 3 wires and gnd – into 3 wires
you will need to split vcc + into 3 wires and gnd – into 3 wires
Connect vcc+ to pin 21,52 and (64 i believe optional as for avcc i test later)
Connect gnd- to pin 22,53 and 63
Connect SCK to SCK
Connect RESET to RESET
MOSI to PE0 (common problem is people using PB2 and PB3 as there listed as mosi and MISO but they are not )
MISO to PE1
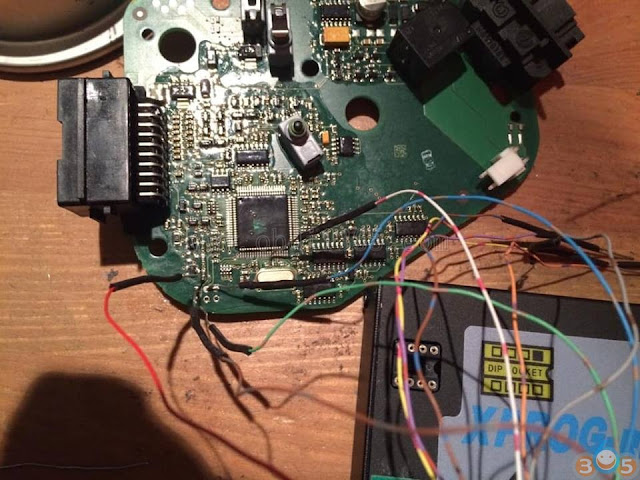
You should end up with something like this . you can see I’ve split the and vcc
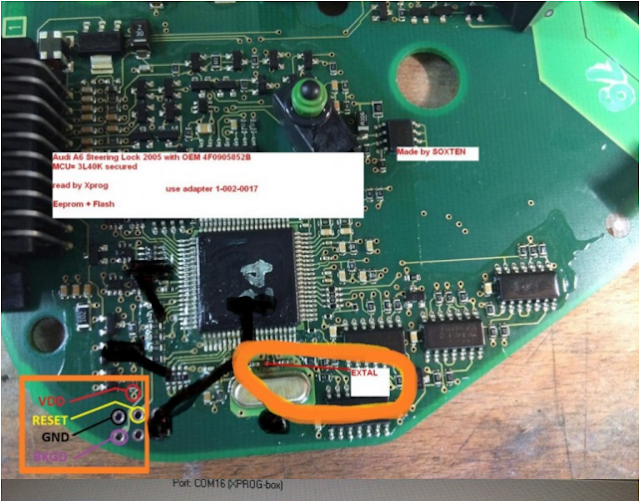
2. Next connect PIN2 from UPA DB9 SOCKET to XTAL 1.
Now connect everything else usbasp and upa to usb etc
Now comes the fun bit
3. Open upa software go on tools then pulse generator and you will see this:
Change frequency to 1000khz and click start and leave it running.
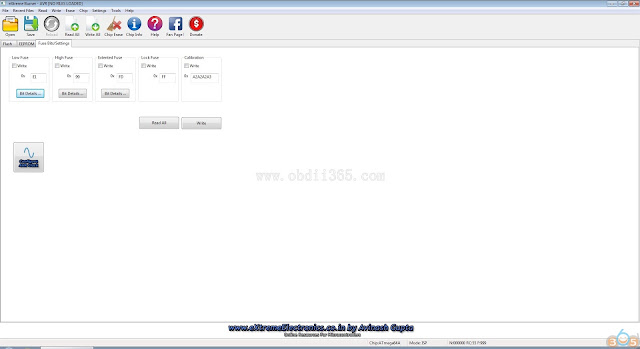
4. Open extreme burner avr and go to fuse settings tab and click on read
atmega should connect as normal
atmega should connect as normal
5. Go on each set of fuses low, high, extended lock go on bit details and click load default value for each set
Then tick all the write boxs and click write. or you can manually enter the following
( Low E1, HIGH 99, EXTENDED FD, LOCK FF then click write these are factory lockbits. see photo
Then tick all the write boxs and click write. or you can manually enter the following
( Low E1, HIGH 99, EXTENDED FD, LOCK FF then click write these are factory lockbits. see photo
6. Go on low fuses and check the following clksel settings are there
Cksel0 (1)
Cksel1 (0)
Cksel2 (0)
Cksel3 (0)
Cksel1 (0)
Cksel2 (0)
Cksel3 (0)
Now erase chip and then disconnect upa
That’s it all done it should be able to program/ read as normal without upa sending signal to xtal1 on mega.
Hope this helps many users to unlock Xprog atmega 64.


